.
We will be glad to assist you. Just give us a call
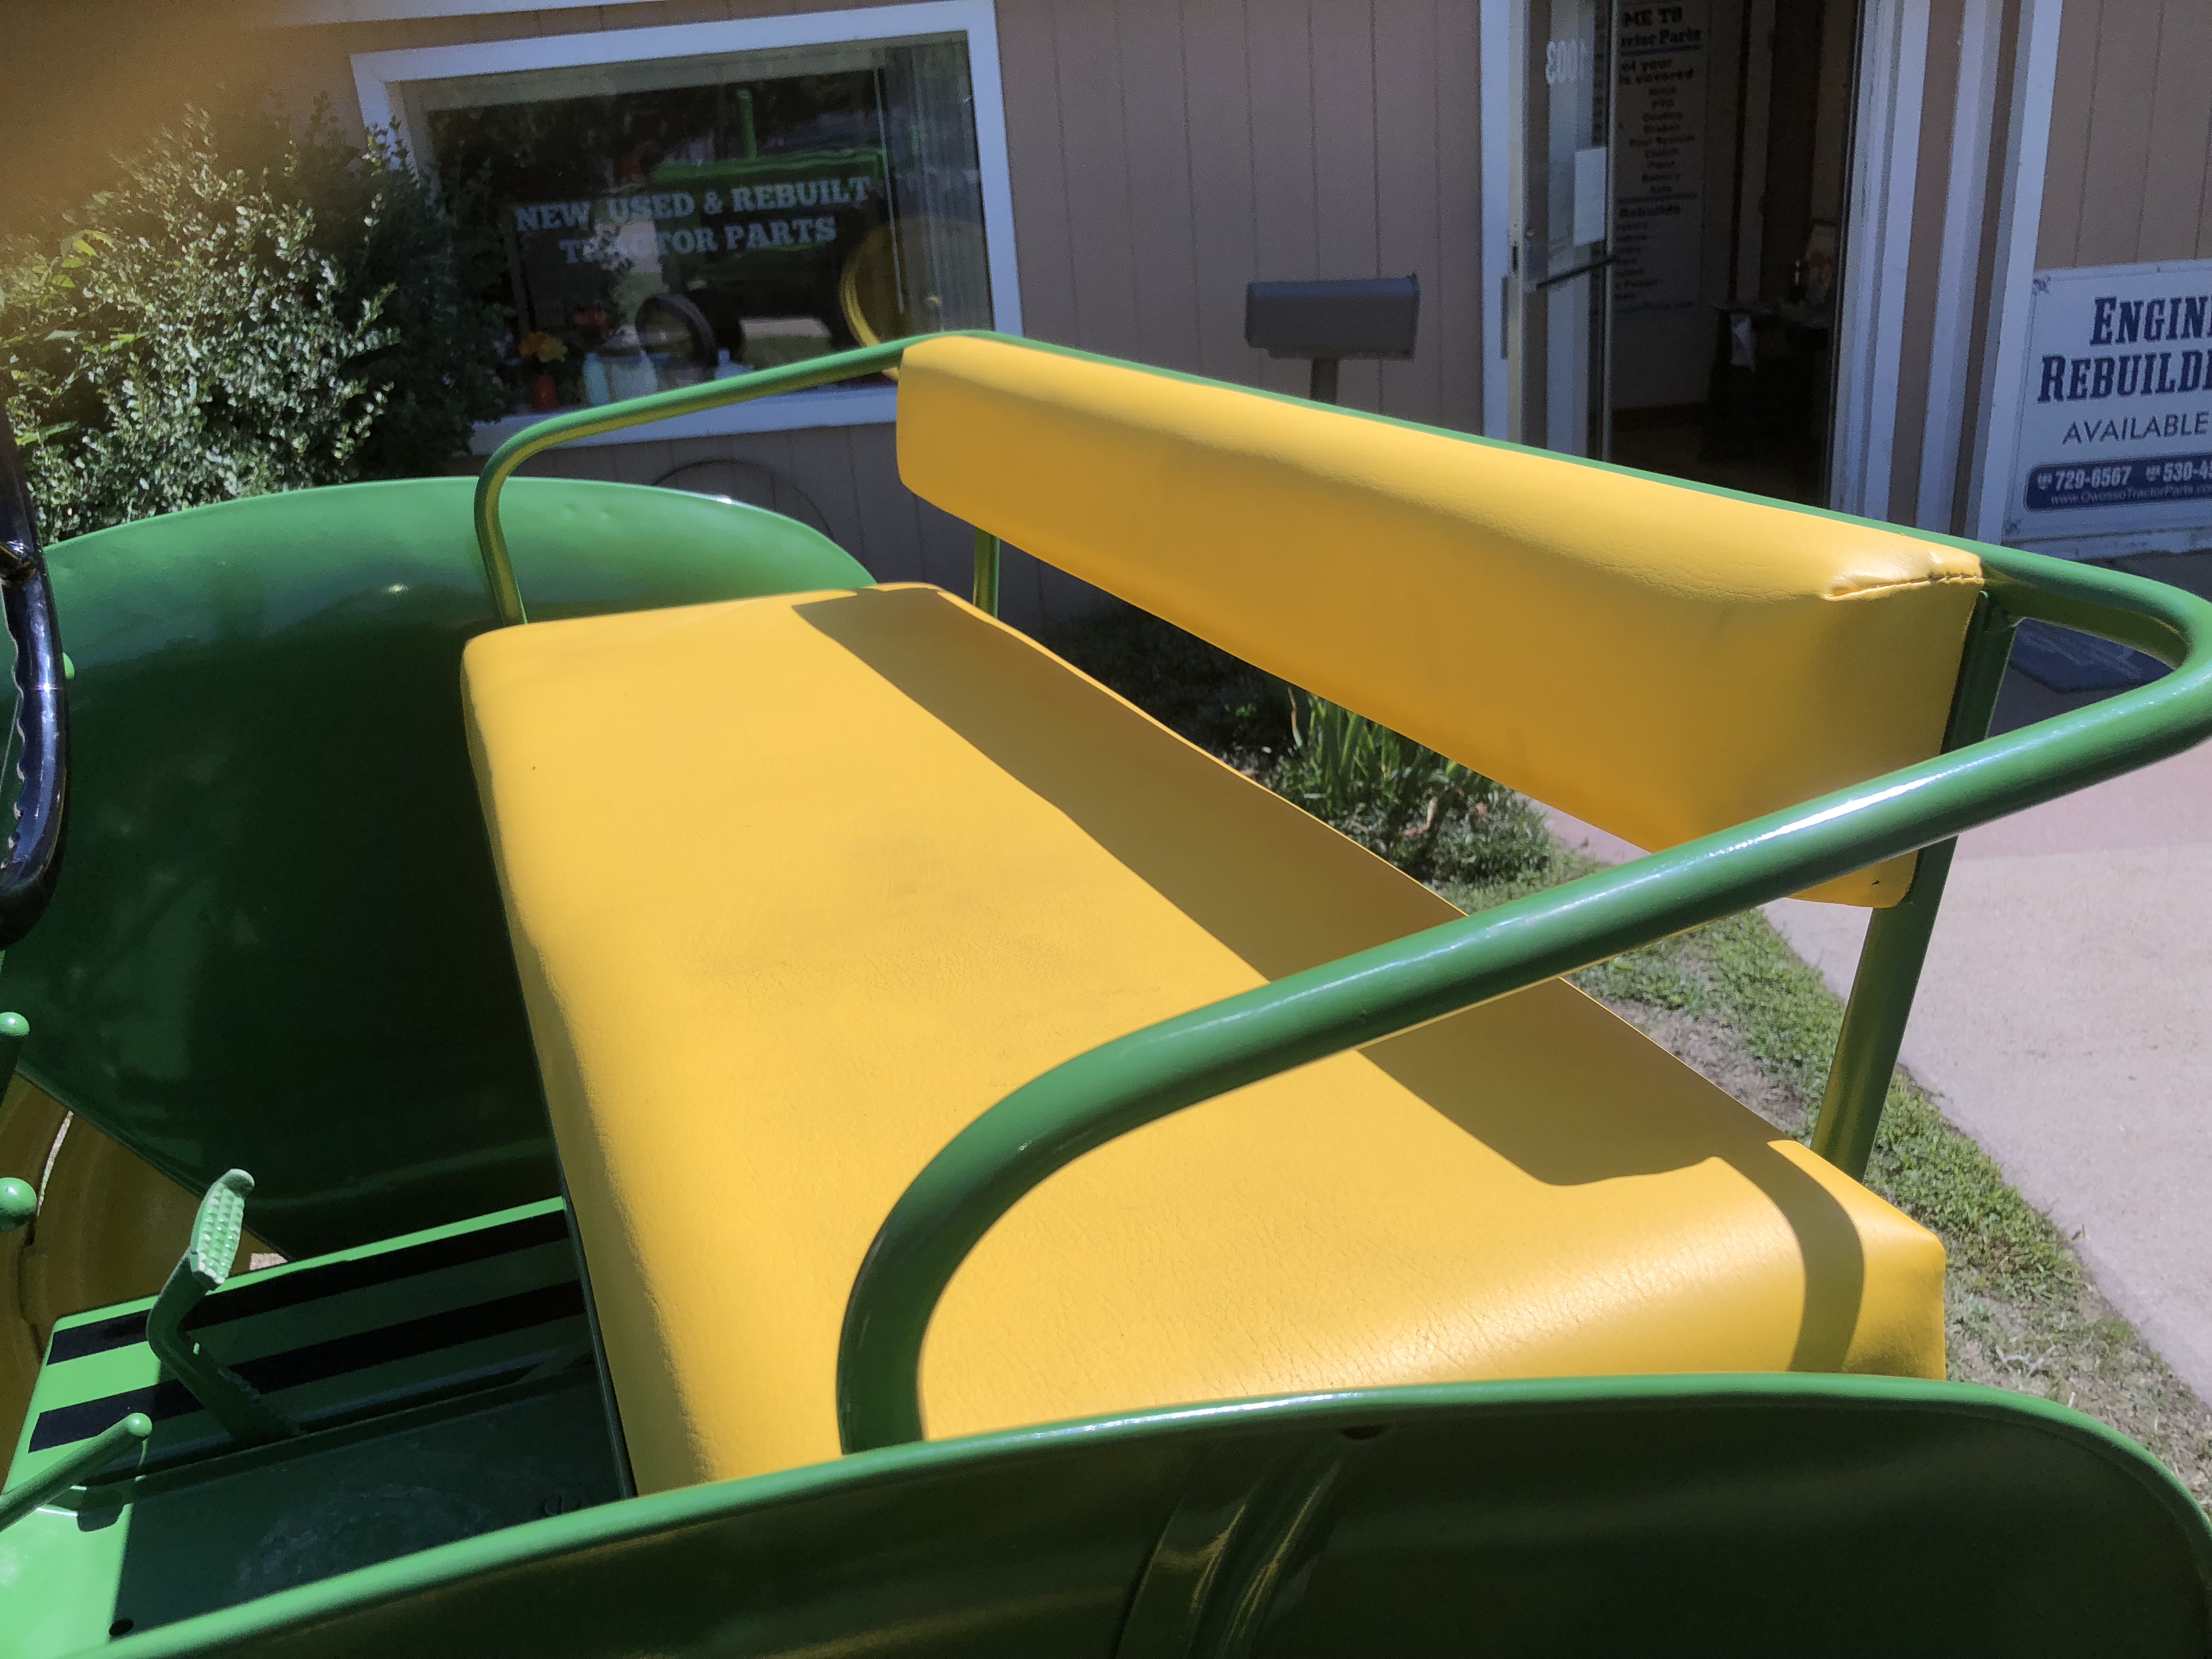
You choose the color, Yellow or Black. If you want a different color or a seat for a different tractor, let us know.
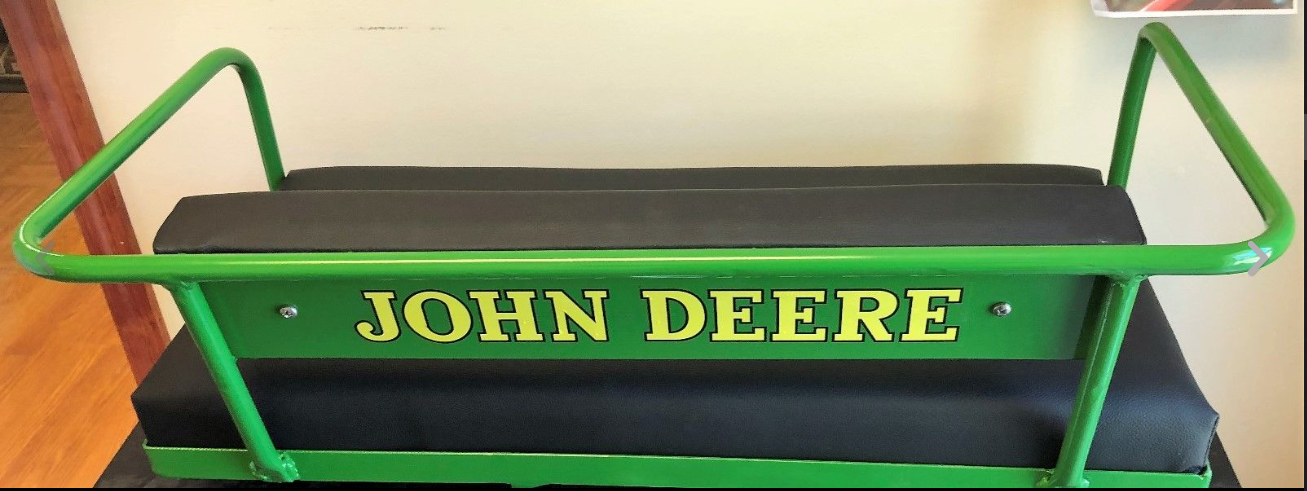
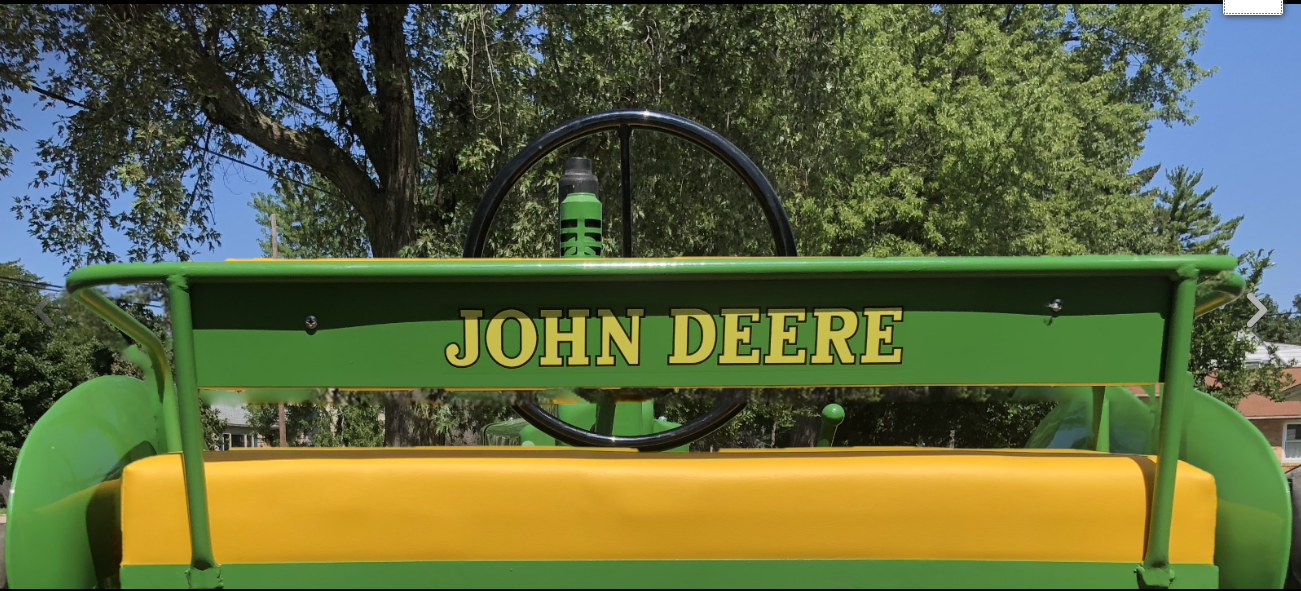

Custom Built Tractor Buddy
Rider Seats
Model A-B-G-R 40-50-60-70-80- ALL MODELS 520-730
Great comfort makes for a great ride. Model A-B-G-R 40-50-60-70-80- ALL MODELS 520-730
We will be glad to assist you. Just give us a call
You choose the color, Yellow or Black. If you want a different color or a seat for a different tractor, let us know.
Click your color image To Enlarge
Owosso Tractor Repair & Parts
Keeping it working so you can finish the job.
We rebuild most every make of carburetor, magneto, distributors, hydraulic pumps and valves, hydraulic cylinder, power steering pumps and a lot more. John Deere 2 cylinder power steering pumps and control valves also.
Keeping it working so you can finish the job.
We rebuild most every make of carburetor, magneto, distributors, hydraulic pumps and valves, hydraulic cylinder, power steering pumps and a lot more. John Deere 2 cylinder power steering pumps and control valves also.
Rebuilt Ford 8N Hydraulic Pumps, Ford 9N Hydraulic Pumps and Ford
2N Hydraulic Pumps.
Call us or order on E-bay.
Call us or order on E-bay.
Ford 8N
Ford 9N
click either photo
click either photo
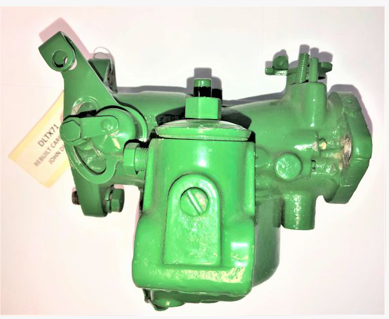
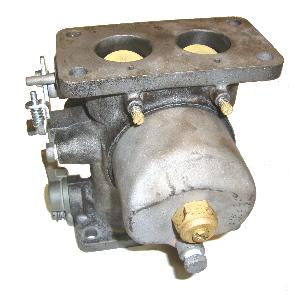
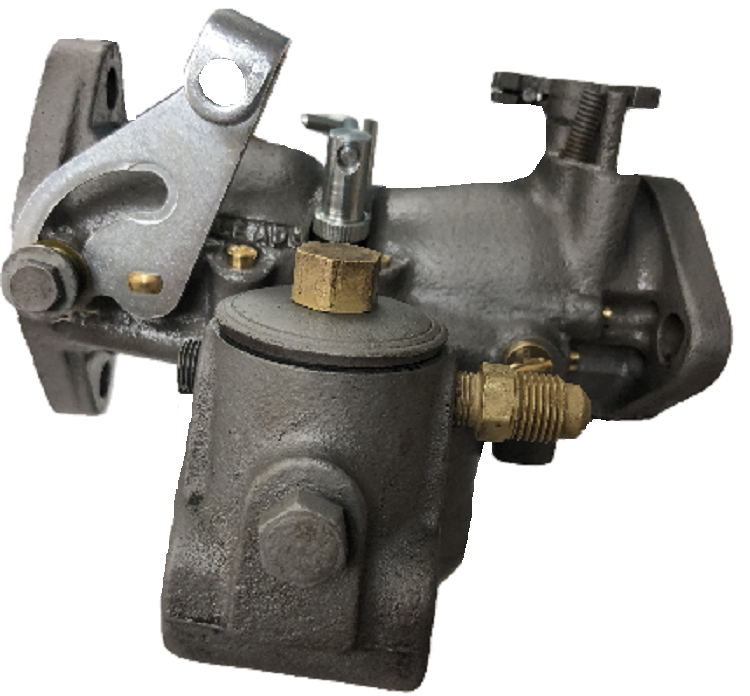
Carburetor Rebuilding
John Deere Duplex and Single DLTX series. Zenith, Marvel Schebler, Carter International and others.
We rebuild your carburetor or sell you ours on the shelf. Also available new replacement carburetors for John Deere, Ford, International and other tractors. Other carburetors repaired page.

John Deere Duplex and Single DLTX series. Zenith, Marvel Schebler, Carter International and others.
We rebuild your carburetor or sell you ours on the shelf. Also available new replacement carburetors for John Deere, Ford, International and other tractors. Other carburetors repaired page.
Give us a call or
contact us for your carburetor needs.
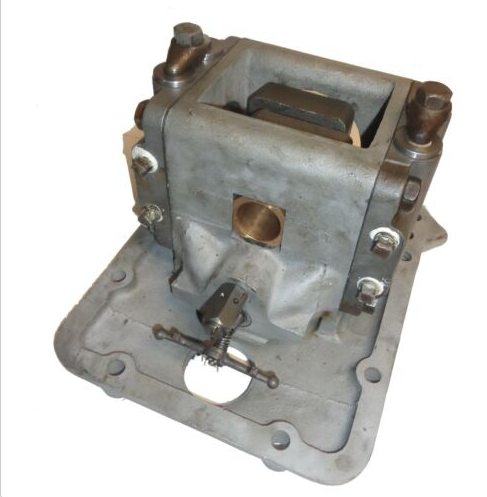
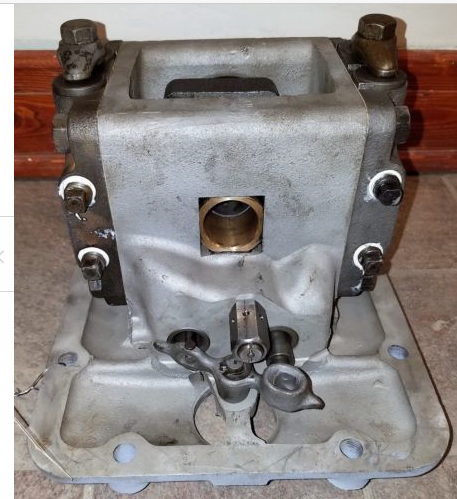
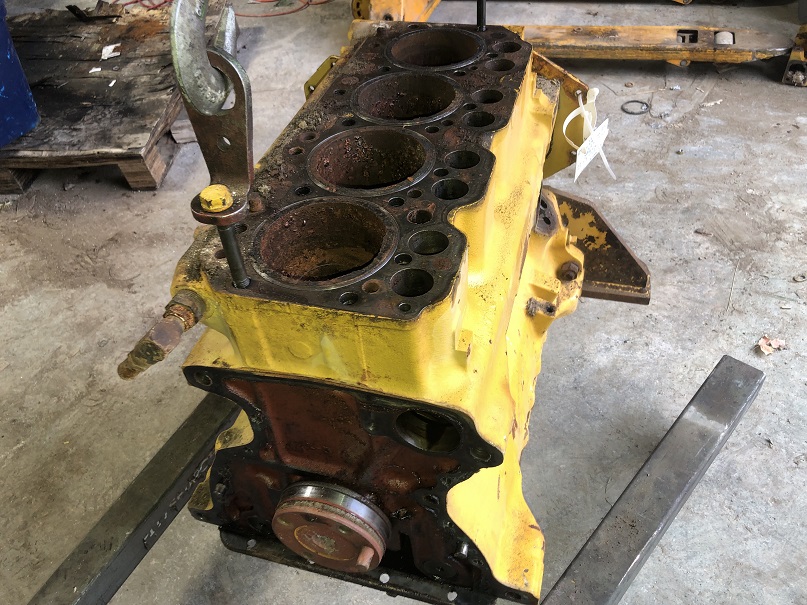
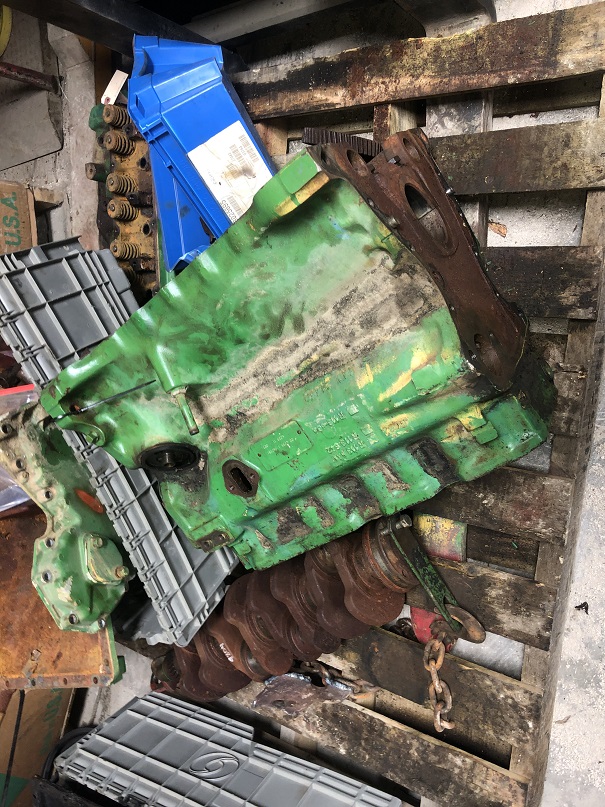
John Deere Engine Rebuilding
4202 4219 4239 4276 4045 etc
Is your engine tired and needing rebuilt. Has it been sitting on the barn floor for years waiting to be rebuilt. Why wait any longer. Why put a used motor that costs thousands of $$$ and you don't know what your going to get. Owosso Tractor Repair & Parts rebuilds dozens of these motors every year. Bring in or ship us your motor and we will rebuild it to factory specs and bring it back to life.
Before photos:
Below is a list of some of the tractors we have repaired.
MACKINAC BRIDGE ANTIQUE TRACTOR
CROSSING SEPTEMBER 11, 2020
Informtion Coming January 2020.
Informtion Coming January 2020.
Parts Tractors Recently
John Deere 4020 ------------ John Deere 4010 ---------------(2) Farmalll H tractors------------Ford 8N late model---------Farmall F20------Farmall BN
We have a John Deere 3010-4320 wide front original, Dual remote kits, Dsl engine blocks and crankshafts, Diesel cylinder heads and more.
Give us a call at 989-729-6567
ARE YOU LOOKING FOR AN AUCTION COMPANY
FOR YOUR EQUIPMENT OR PROPERTY.
LOOK NO FURTHER THAN

FOR YOUR EQUIPMENT OR PROPERTY.
LOOK NO FURTHER THAN
We accept Paypal, Visa, MC, Discover and
American Express
NEW TO OUR SITE
USED PARTS FOR SALE
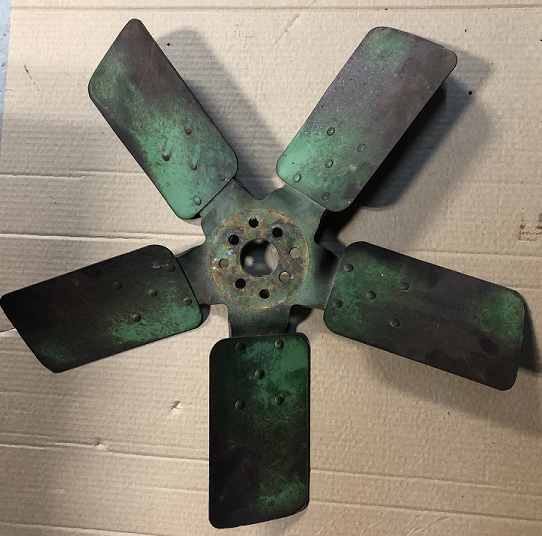
CLICK FOR USED PARTS
GOOD USED PARTS
USED PARTS FOR SALE
CLICK FOR USED PARTS
GOOD USED PARTS
Just a few of the used parts we have available from recent parts
tractors.
